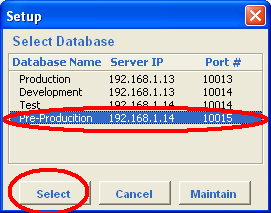
When you receive the Data Loader template from 32 Soft, your first step should be to update the database list. Whenever you want to use the template against a new database or an attributes of the connection (server IP, port #) has changed, you will also have to edit and update the database list in you Data Loader templates.
This is a short instruction how to edit the database list in your Data Loader template:
- Each template has a button “Setup” in the header. This button is used to select the database the template should connect to. Once you click this button, you will get the list of available databases.

- In the Setup window you have the ability to select the database you want to connect to by clicking on the correct line and hitting the “Select” button.
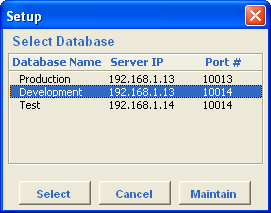
- When you have to edit the database list in your template, you should click the “Maintain” button.
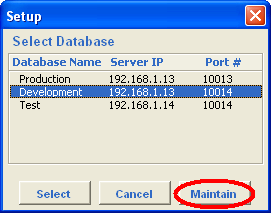
- Once you clicked on the “Maintain” button, you will be asked for a password. This function is password protected, so only authorized person will be able to make this change. 32Soft will share the password with an authorized IT person.

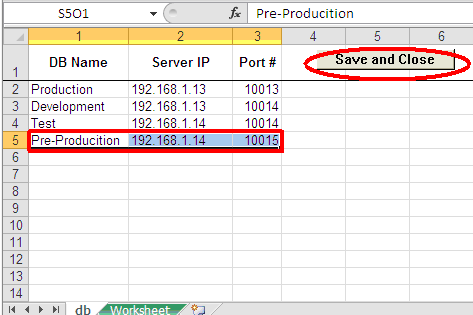
- Once the correct password is entered, a new tab “db” will open up that contains the available database settings.
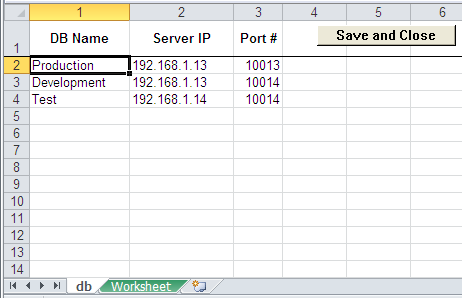
- Edit the list of databases on the newly displayed “db” tab. As this is a regular Excel sheet, you have all the Excel functionalities available. You can delete lines, insert new line before and existing one etc. There are 3 parameters you have to specify for each connection.
- DB Name can be a short name of the database. This will help you identifying the correct database.
- Server IP: This must be the QAD server address where the XLD service is installed and running.
- Port #: This is the port number set up on your QAD server. Different DB’s will have different port number.
- Once you finished editing the list, please click on the “Save and Close” button. This will save the new settings and close the “db” tab. You will also see a pop-up window that confirms the settings have been saved.
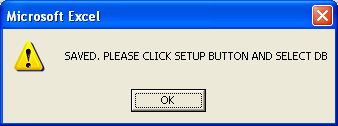
- At this point you are ready to use the newly added database. Please click the “Setup” button and select the new database.
